
Do you own an Everpure water filter? If so, you are probably aware that you need an Everpure replacement filter eventually. But how do you know when and how do you even replace it? You’re in the right place. We not only have Everpure products aplenty but all the advice you need to properly replace your filter.
How Do You Know When It’s Time to Replace Your Water Filter?
Ensuring that your Everpure water filtration system continues to deliver clean and purified water requires timely replacement of the filter cartridge. But how do you know when it's time for a change? Keep an eye out for these signs indicating that your Everpure water filter is due for replacement:
1. Recommended Replacement Interval:
Everpure recommends replacing your water filter cartridge at least every six months, or as specified in the product manual. Adhering to this timeline ensures consistent filtration performance and maintains water quality.
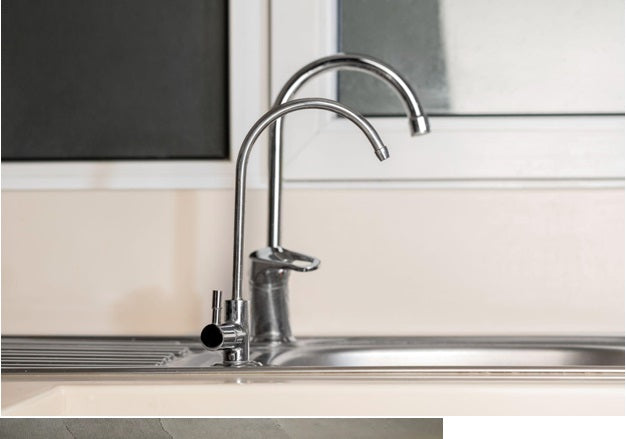
2. Reduced Water Flow:
A noticeable decrease in water flow from the faucet or dispenser connected to your Everpure system could signal a clogged or exhausted filter cartridge. If the water flow is significantly slower than usual, it's likely time for a replacement.
3. Change in Water Taste or Quality:
One of the primary indicators of a failing filter is a change in the taste, odor, or appearance of the water. If you detect unusual tastes, odors, cloudiness, or particles in your filtered water, it's a strong indication that the filter is no longer effectively removing contaminants.
4. Indicator Alert (if applicable):
Many Everpure cartridges come equipped with filter indicators that will change over time. Pay attention to these indicators, as they are designed to notify you when it's time for a new filter cartridge. Resetting the indicator after replacement ensures accurate tracking for the next change.
5. Duration of Use:
Consider the duration of consistent use of your Everpure water filtration system. If your household or business consumes a higher volume of water than average, the filter may need more frequent replacements to maintain optimal performance.
6. Water Quality Testing:
Conduct periodic water quality tests to assess the effectiveness of your Everpure filter. Testing kits are available to check for specific contaminants. If test results indicate the presence of impurities the filter should remove, it's a clear sign of a worn-out filter.
7. Visual Inspection:
Regularly inspect the filter cartridge visually. If the filter appears discolored, dirty, or clogged with sediment, it's likely time for a replacement, even if it's before the recommended six-month interval.
8. Manufacturer Guidelines:
Refer to the manufacturer's guidelines and product manual for specific instructions on when to replace the filter cartridge. Different Everpure systems may have varying recommended replacement schedules based on usage and filtration capacity.
By paying attention to these signs and guidelines, you can ensure timely replacement of your Everpure water filter. Regular maintenance and timely replacements guarantee that your water filtration system continues to provide clean, fresh, and purified water, contributing to a healthier environment for your household or business.
How to Install Your Everpure Replacement
Maintaining your Everpure water filter is essential to ensure the continual delivery of clean, purified water. Regularly replacing the filter cartridge is a simple yet crucial aspect of this upkeep process. Follow this easy-to-follow guide for a hassle-free replacement of your Everpure water filter:
1. Gather the Necessary Supplies:
Before starting the replacement process, gather the essential items: a new Everpure replacement filter cartridge suitable for your model, a bowl or container, and a towel or cloth for any potential spills.Check out our collection of Everpure products to find exactly what you need.
2. Turn Off Water Supply:
Locate the shut-off valve connected to your water filtration system and turn it off. This step is crucial to prevent water from flowing through the system during the replacement process.
3. Release Pressure and Remove Filter Housing:
Relieve any built-up pressure by turning on the faucet connected to your water filter. Next, use a filter wrench to loosen and remove the filter housing. Place the bowl or container beneath the housing to catch any remaining water.
4. Remove Old Filter Cartridge:
Carefully pull out the old filter cartridge from the housing. Dispose of the used cartridge according to local regulations.
5. Install the New Cartridge:
Insert the new cartridge into the filter housing, ensuring it fits securely. Check for any seals or gaskets and make sure they are properly positioned to prevent leaks.
6. Turn On Water Supply and Flush:
Turn the water supply back on and slowly open the faucet to flush the system. Let the water run for a few minutes to clear out any air bubbles and ensure proper filtration.
7. Check for Leaks:
Inspect the filter housing for any signs of leaks. If there are no leaks, wipe down the housing and surrounding area with a cloth or towel.
9. Reset Filter Indicator (if applicable):
If your Everpure system has a filter change indicator, reset it according to the manufacturer's instructions to track the next replacement date accurately.
Congratulations! You've successfully replaced your Everpure water filter, ensuring continued access to clean and purified water for your household or business.
Regularly replacing your Everpure water filter, typically recommended every six months or as per manufacturer guidelines, maintains optimal filtration performance and prolongs the life of your filtration system.
Following these simple steps makes the process seamless, guaranteeing a constant supply of high-quality water for your needs.
Latest posts

Everpure H54 Specifications: Capacity, Certifications, and Performance
Read article
Everpure Water System vs Standard Water Filters. What Is the Difference
Read article
How an Ice Machine Water Filter Improves Taste for Restaurants and Bars
Read article